Assembly
Each piece is color-coded for reference below.
Assembly is straightforward, with only a few things to keep in mind:
The penny tube should be pressed as far toward the handle as possible. This will ensure that there is enough room for the barrel pieces to fit.
Add as many pennies as you want to the penny tube. Any kind of glue will work–Elmer’s, Gorilla or Superglue. I have found it best to add a drop of Elmer’s glue to both sides of a penny, and drop it into the tube. Shake or push the penny to the bottom. It may rotate on the way to the bottom. This is why putting a drop on both sides is important. You could otherwise inadvertently have two pennies that are side by side with no glue. While the tube fits the pennies very tightly, adding a drop of glue to both sides of each penny ensures that there can be no rattle once everything is dry.
If you look at the picture, you’ll notice three disc-shaped pieces. They are red, purple and green (from left to right)
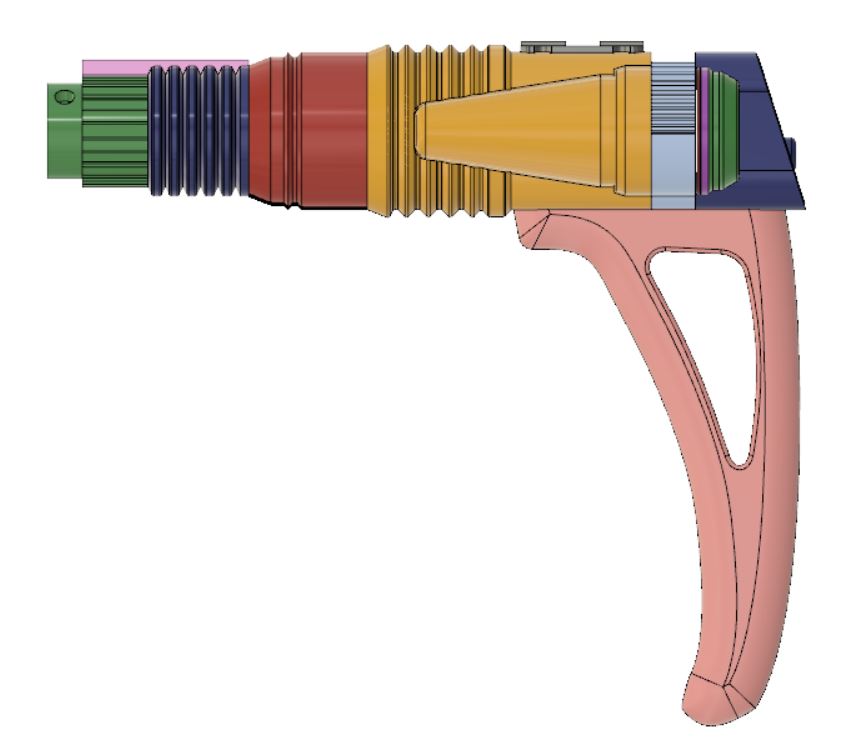
The red piece stays black. It is the thinnest of the three. It is used only as a concealer. It is a small piece that goes between the blue fins and the purple piece. It ensures that you cannot see beyond the fins.
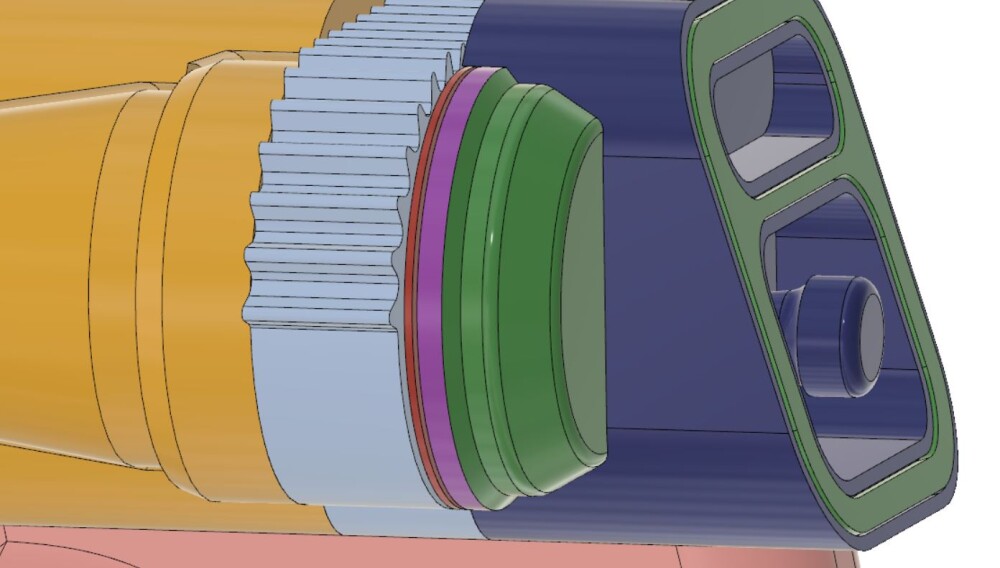
The purple piece should be painted silver along the rim. Because the body of the purple piece is hidden, there is no value in painting the rest of it silver. Only paint the outer rim. In fact, adding paint to anywhere but the rim only works against you, as it would thicken the piece and make it not sit flush in between the red and the green disc pieces.
The third and final piece, the green piece, is also black.
All three disc pieces should fit snugly between the light blue fin piece on the left and the dark blue trigger housing on the right.
Paints
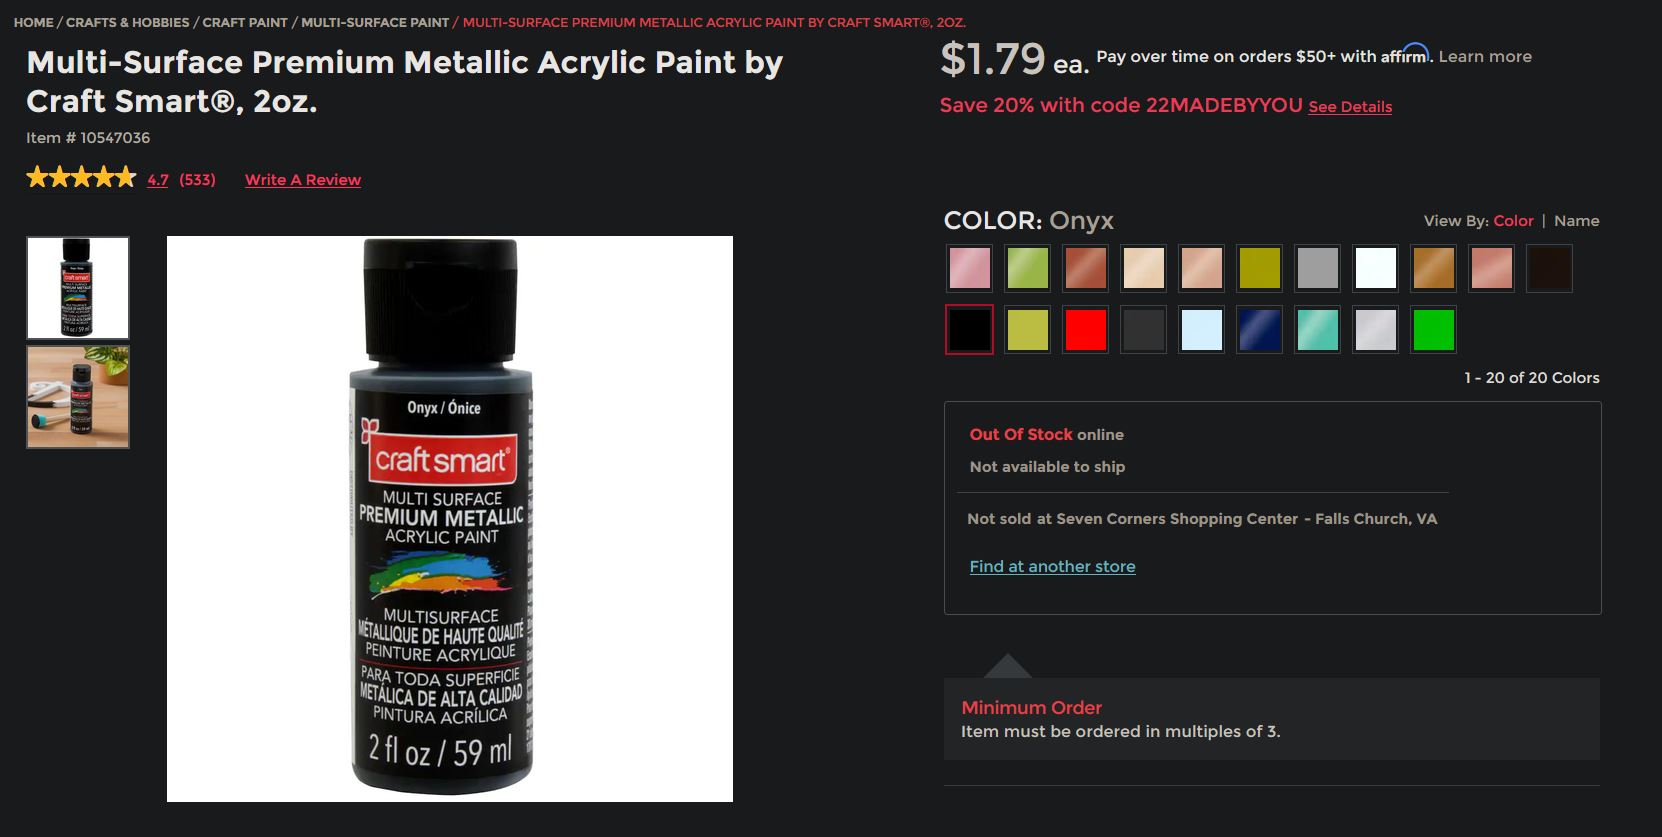
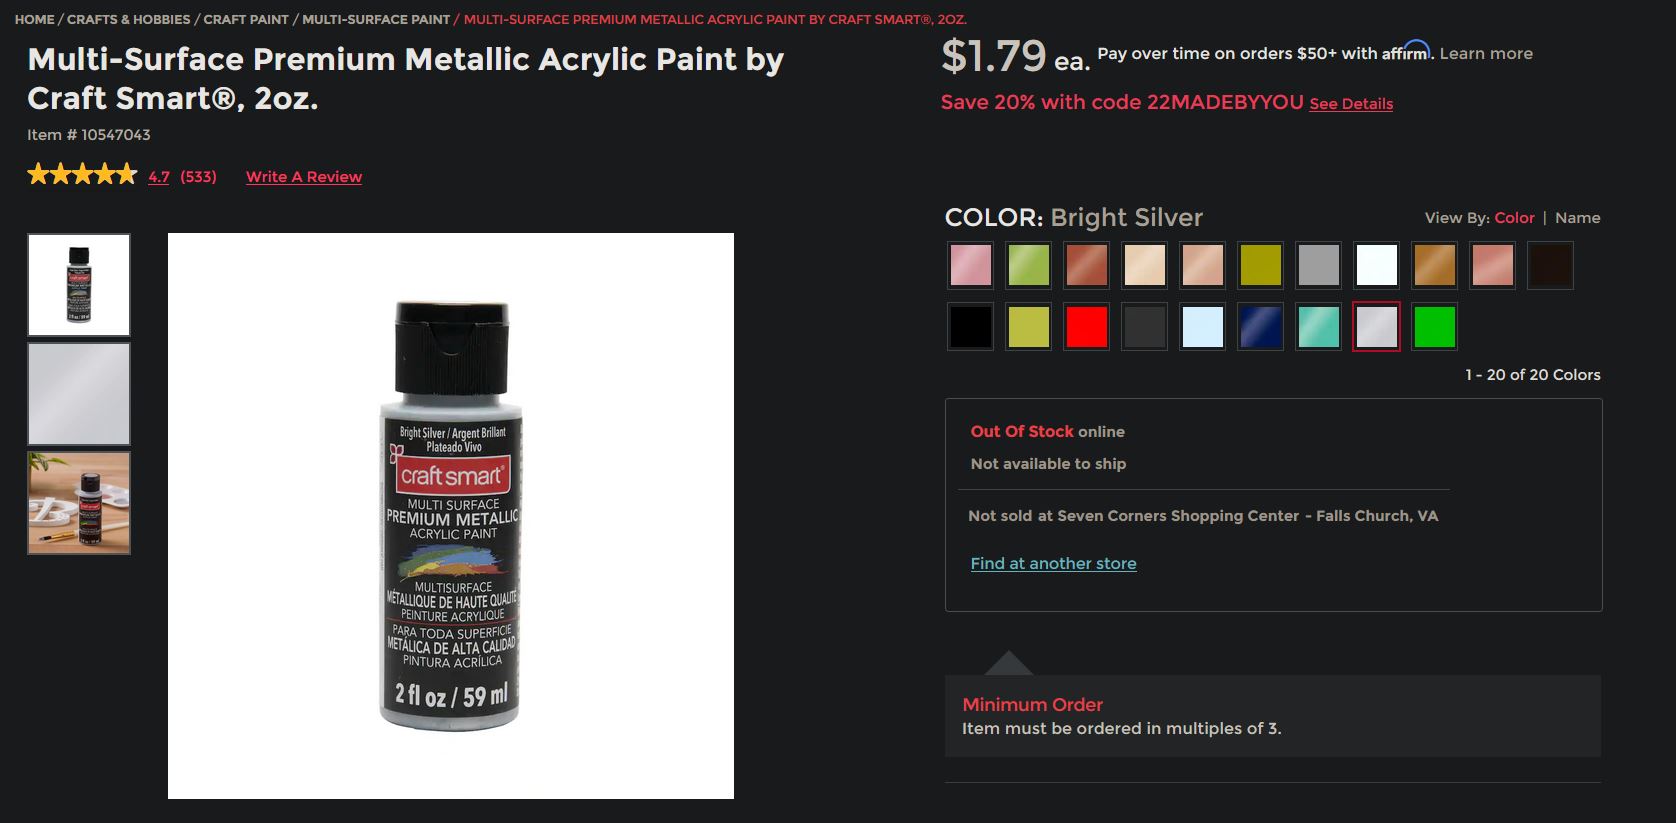
You only need two paints from Michaels, onyx and silver. If you really want your Varon to pop, then I recommend four paints. They are only $1.80 apiece. They are all Craftsmart metallics, and the colors are:
- onyx
- gunmetal
- silver
- bright silver
The proper order of painting is:
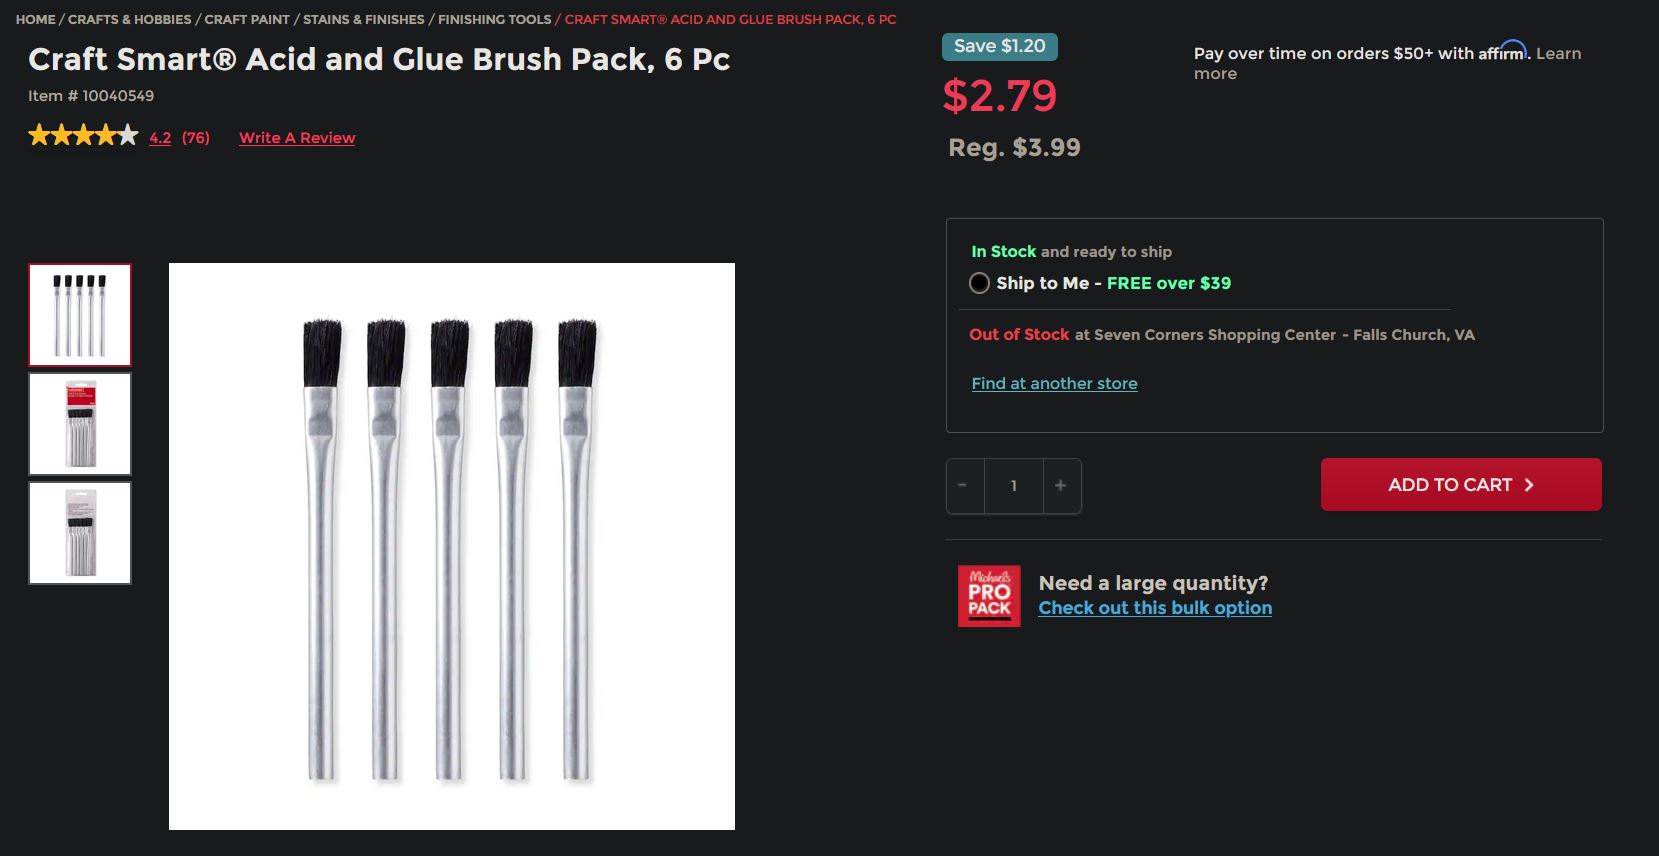
Paint everything onxy. Give everything a good coat. You don’t have to use dry-brushing techniques here. But I do recommend using an acid brush (link details below) in a sort of pushing mode. If you push the bristles directly into the plastic, as opposed to stroking the paint on, you will eliminate brush strokes. When the pieces dry, the little spots from your injection brush technique will disappear in some cases, and in other cases conceal brush strokes.
Once everything is painted onxy and dried, you’ll be using a dry brush technique next. I recommend watching a few YouTube videos, but the long and short of it is this: Apply the paint to your clean, dry brush. Then daub the brush repeatedly onto a piece of paper, removing most of the paint. Then just apply the color in a quick, stroking, whipping motion on the plastic. This will cause the paint to deposit only on the high points, and not in the low points. Resist over-coating everything. This will just make it look flat and boring. You want the onyx paint in the recesses to continue to show. From years of doing this, I can tell you that it will start to look really cool, and you’ll be inclined to keep going because it can only look cooler, right? Well, it doesn’t. There comes a point were it no longer is looking cool, and instead looks worse–flat. You’ll want to start over (which you can). It takes real skill to know when to quit. Dry-brushing is an exercise in restraint.
Dry-brush the green and red barrel pieces in the photos above with gunmetal. Once that is done, and it’s dry, do the exact same dry brushing technique with silver on the same two pieces. When that is dry, very sparingly, and with very little paint, do a final hit with bright silver. Te bright silver should only look like damage, where the metal has been banged into something, or rubbed against a holster. It is very likely that you will mess this up your first time. That’s fine. The beautiful thing about acrylics is they dry quickly, and you can cover your mistakes. Start over with onyx, and do it again. When you get it just right, you’ll have metallic pieces with four layers (onyx, gunmetal, silver, bright silver), all applied in increasing order of shininess, that yields a truly beautiful and aged, weathered look.
Use bright silver to paint the purple disc piece. If you notice, on a real Varon-T disruptor, this piece is very bright, and looks like a silver disc that’s part of the side-tube arrays. It is the only piece on your Varon where the bright silver paint should be used heavily.
Apply gunmetal and silver via dry brushing to the top control plate, the thumb trigger, and the very back thumb plate. Use online photos of the Varon-T as reference. Again, you’ll want to start with the darkest–onyx–and go brighter from there, in this order: onyx, gunmetal, silver, bright silver.
Finally, the last step is to use gunmetal to very sparingly add depth and character to the onyx pieces that remain — the handle, and the black barrel pieces. Again, sparingly. This will give it good aged characteristic.
Once you glue everything together with superglue, there may be spots where the superglue has “bloomed.” What this means is that the superglue has pushed out, and turned white upon exposure to moisture. This is very fixable because you used onyx in the beginning. Some folks say after the first coat of onyx, “the onyx doesn’t look like anything–why am I doing this step?” This is true. But I can tell you that if you use the natural black of the plastic as the base, and glue everything together and then the superglue blooms, if you apply onyx to cover up the blooming it will look plain terrible and obvious. So start with onyx in the beginning, and cover everything with it. When your superglue leaks out a bit onto the onyx, just conceal it with onyx (and a bit of gunmetal or silver, depending on where it bloomed). You won’t even notice it.
Paints and brushes, all from Michaels